
How to Learn the Tuck V-Sit
The tuck V-sit lifts your hips and knees higher than an L-sit while you support yourself on straight arms. It builds the compression strength and hamstring flexibility the V-sit needs.
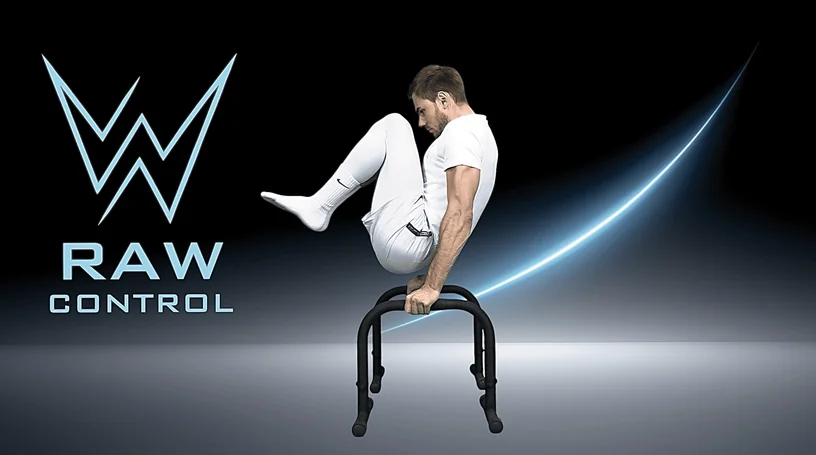
Tuck V-Sit technique
- Place your hands next to your hips
- Lock your elbows and keep your arms straight
- Push the floor away and keep your shoulders away from your ears
- Brace your core and tuck your pelvis slightly
- Pull your knees as high as possible
- Keep your thighs close to your chest
- Stay tall through your shoulders the whole time
- Keep your head neutral and look forward
Key progressions
These are the main building blocks you work on before the Tuck V-Sit feels solid:
- 45 Degree V-Sit Hold
- Band-Assisted Tuck V-Sit Hold
- Stall Bar Hamstring Stretch
The 3-stage training path
In Raw Control the Tuck V-Sit is split into Training 1 → 2 → 3. Each stage is a structured session of four exercises:
Training 1
- Seated Pike Leg Lift
- Band-Assisted L-Sit To 45 Degree V-Sit Transition
- Band-Assisted 45 Degree V-Sit Hold
- Stall Bar Hamstring Stretch With Bent Knees
Training 2
- Single-Leg L-Sit Lift
- Tuck V-Sit To Support Transition
- Band-Assisted Tuck V-Sit Hold
- Stall Bar Hamstring Stretch
Training 3
- Grounded L-Sit Hip Raise
- L-Sit To Tuck V-Sit Transition
- Tuck V-Sit Max Hold Attempt
- Elevated Hamstring Stretch Reps
Exact sets, reps, hold times and rest periods, plus a full-screen HD video for every exercise, are in the app.
Where the Tuck V-Sit fits
Each skill line runs through all three levels. This is the path for the Tuck V-Sit:
More advanced skills
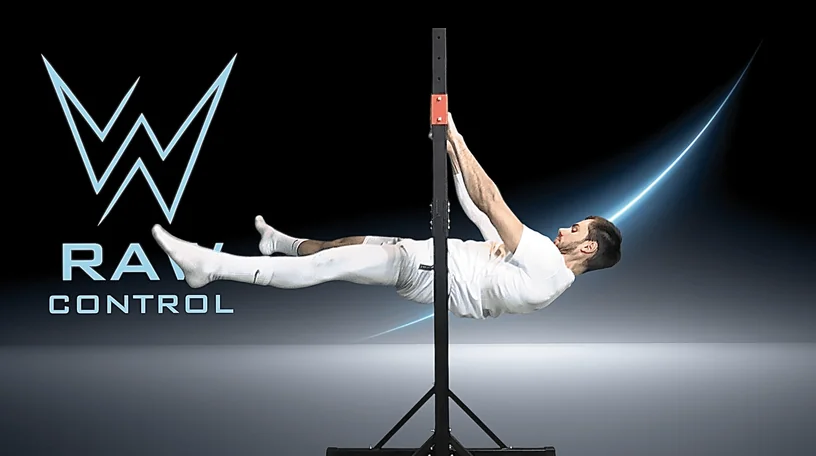
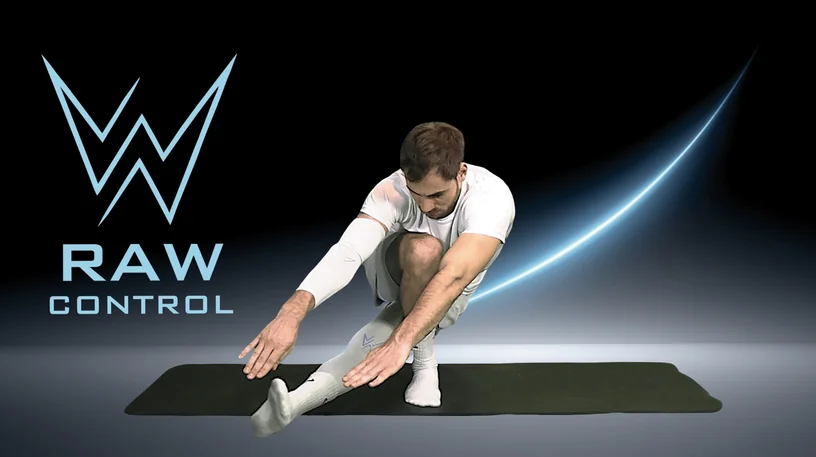
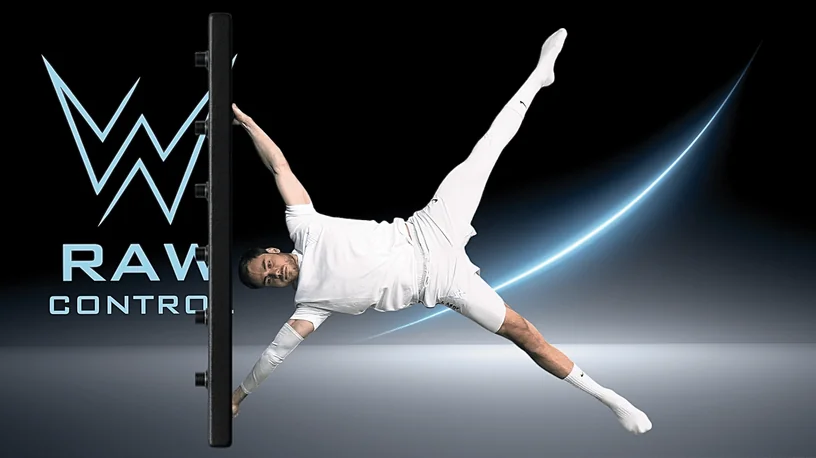
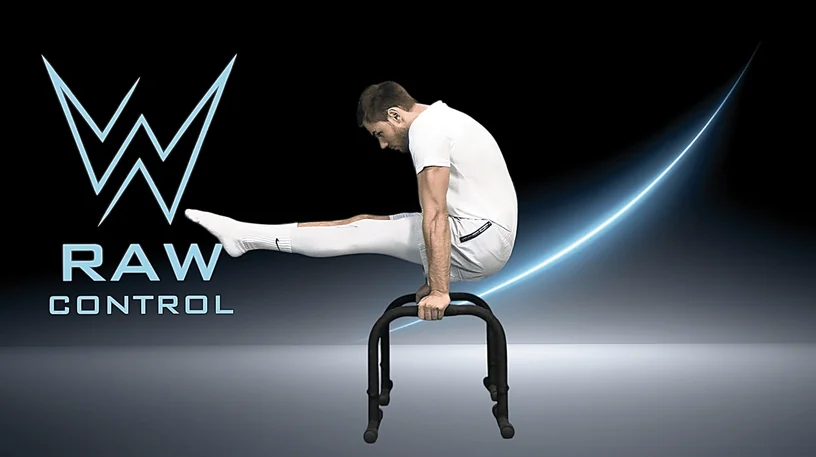
Train the Tuck V-Sit with Raw Control
Every training comes with exact sets, holds and rest times, a full-screen HD coaching video for each exercise, warm-ups and offline downloads.
General fitness information only. Warm up properly, train within your ability and stop if you feel pain. Read the Health & Safety Disclaimer.